How To Use: Luminous Pro
Before You Get Started
Make sure to fully charge the lights before first use
When you begin to charge, a red light will appear indicating that the unit is charging.
Once the light goes from red to green, the product is fully charged.
Switching Modes
Clicking the Power button on the side of the unit will switch between the modes
1 Click is 'on' mode. The light will stay on
2 Clicks is 'Night-Time Motion Sensor' mode.
The light will turn on when it detects motion in a low light setting (mainly used for night)
3 Clicks is Day-Time 'Motion Sensor' mode.
The light will turn on when it senses motion, at any time of day!
4 Clicks is 'off' mode
When To Use 'Night-Time Motion Sensor'
The 'Night-Time' motion sensor mode works in low light situations.
Most of our customers love using this mode as a 'night-light'. It provides you with the perfect amount of light to safely navigate a dark kitchen. It also keeps you from straining your eyes from the bright overhead lights.
When To Use 'Day-Time Motion Sensor'
The 'Day-Time' motion mode can detect motion, and turn on at any time of day!
This mode is great for impressing your guest and really gives your kitchen that 'Wow' factor. It's great for cooking, reading recipes, making coffee and all other kitchen activities. Brighten up your kitchen the moment you step in!
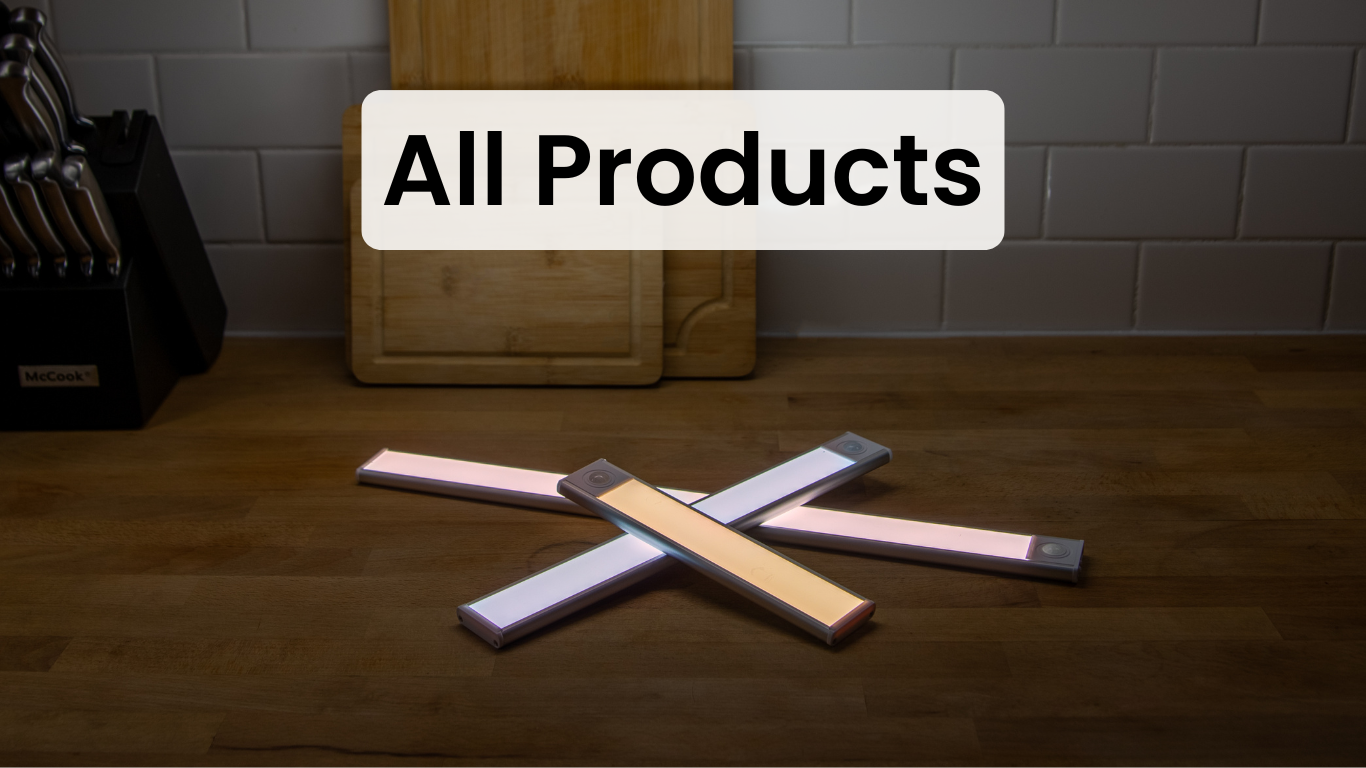
How To Change Color
On the side of the light, you will see two buttons. to change the color of the light, press the ☀️ button, and the light should change color.
You can choose from 3 colors. White, Warm and Neutral!
How to adjust brightness
To adjust the brightness, the light must first be on ‘on’ mode.
Next, hold the power button for 3 seconds. Release to stay at that brightness
Repeat to adjust
How long does the battery charge last on ‘on’ mode?
On a full charge, the light should last about 6-8 hours continuously on, depending on brightness. Most of our customers find that this is plenty of time seeing as they are turning it on for a couple times a day (when they are cooking, reading recipes, chopping vegetables etc.) and don't need to charge that often.
How long does the battery last on 'Motion Sensor' mode?
The lights can last up to 8 weeks on a full charge with motion sensor mode (about 10 motion activations a day)!
How to install
Before You Get Started
Each light comes with 2 metal installation pieces. The metal side will attach magnetically to the end of the light. The sticker side should be peeled and attached to the cabinet.
(The installation piece is not magnetic. The magnet is located inside the light.)
Step 1 - Place the light face down on the counter.
Step 2 - Place the installation piece towards the end of the light. When in the correct position, the magnet inside will 'snap' it into place.
Step 3 - Once the installation pieces are on the fixture, peel the sticker revealing the adhesive, and firmly place the light in the desired position.
Step 4 - Hold in place for 30 seconds to ensure proper connection.
Thank You!
If you have any other questions, that weren't addressed here, please email our support team. We're available 7 days a week to ensure you have everything you need to enjoy your home upgrades.